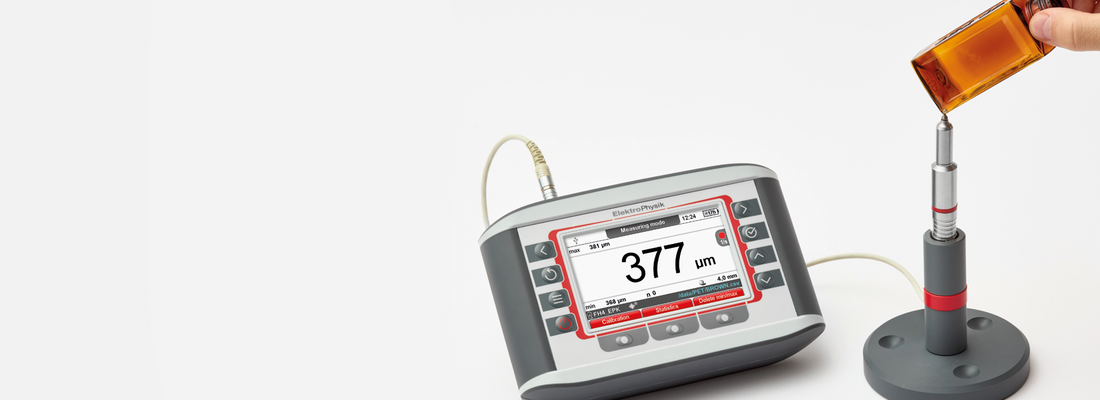

(Photo credit: Elektro Physik)
BOTTLE MEASUREMENT
Always monitor your specifications for tolerances - PET production: ElektroPhysik’s wall thickness gauge MiniTest FH provides significant key data
Technical products made of PET such as bearings, gear wheels, housings for electrical appliances or even medical products are subject to exact specifications in terms of material thickness and wall thickness. After all, functionality and wear resistance, rigidity and stability, as well as appearance and surface finish, all depend on these factors. Naturally, the same applies to the production of PET bottles. Wall thickness is becoming a decisive quality factor.
Precise measurements are required for continuous determination of the wall thickness and for checking the tolerance specifications. The portable MiniTest FH made by ElektroPhysik delivers exactly these measuring values. Designed for measurements up to 24 mm wall thickness, it is perfect for quality control in PET production. The compact measuring device, consisting of a control and display unit and a sensor connected via cable, provides information about the wall thickness in no time at all. The measurement results are visualized on a 4.3” colour screen with a resolution of 800 x 480 pixels. The control unit also features an integrated, protective rubber edge for a better grip as well as foldable stands.
Wide range of sensors for specific measuring tasks
A wide range of sensors with different dimensions and geometries allows the measurement of many different PET products. Thanks to the large selection of sensors in angled and straight versions, working with reference spheres and wires, MiniTest FH can be individually configured for any specific measuring task.
The continuous measuring mode allows to scan the material with the sensor and display measuring values as well as the minimum and maximum values and the average value. Using a preset logging rate, individual values can be transferred to the statistical evaluation during the online measurement or transferred directly to the evaluation software.
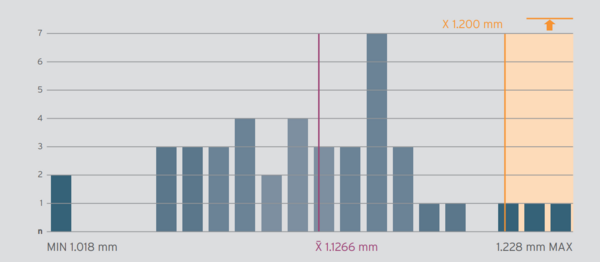
MiniTest FH is equipped with a database that allows to create test series in freely nameable directories. Individual measurement parameters can be stored for each measurement series (batch) and the results can be analyzed in separate statistics. For a better assessment of the measurement series, the distribution of measuring values within predefined limits can be displayed in a histogram. In addition, limit values can be set for each batch and the MiniTest will display an alert any time a limit value is exceeded. An alarm transmitter can be connected via an alarm output, which also provides an optical or acoustic signal when the limit value is exceeded.
High accuracy through SIDSP® process
By using the SIDSP® process (Sensor Integrated Digital Signal Processing), MiniTest FH offers high accuracy. The SIDSP® method relies on a microprocessor being located in the sensor. This processor converts the recorded signals and transmits them to the display device as a finished measured value. The advantages of this technology developed by ElektroPhysik are reflected in extreme accuracy and temperature stability, unprecedented reproducibility and exemplary adaptability to the respective measurement task.
SIDSP® also allows the use of a specially developed manufacturing process in which every single sensor is individually calibrated to perfection using automatic adjustment procedures. SIDSP® sensors are calibrated at up to 50 characteristic curve points during production using a specially developed automatic system. The characteristic curve is therefore extremely accurate over the entire measuring range, and manufacturing variations in the sensor head are completely eliminated. All calibration data is stored in the sensor making them available at any time- no matter where, when or to which SIDSP® display device the sensor is connected.
Efficient data transfer and processing
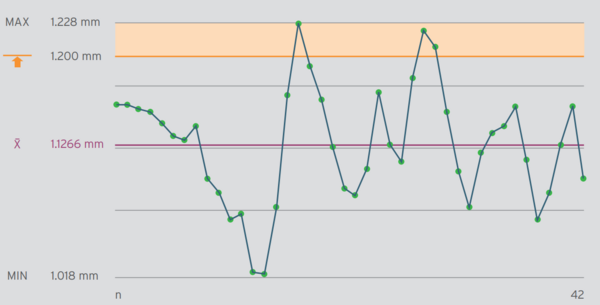
MiniTest FH can be used both as a stand-alone device in the quality laboratory and as a portable device for measurements directly on the production line. The measuring values can be transferred to a CAQ system via the RS232C interface, alternatively direct automated transfer of individual measuring values to an Excel spreadsheet is also possible. In the statistics area, a trend diagram can be created to graphically illustrate the measuring values, making it possible to quickly recognize deviations. For viewing larger production quantities, a histogram provides information on the distribution of the measuring values. Real-time feedback loops can also be implemented to send measurement results directly to the production control system in order to adjust immediately parameter.
Essential help in the production process
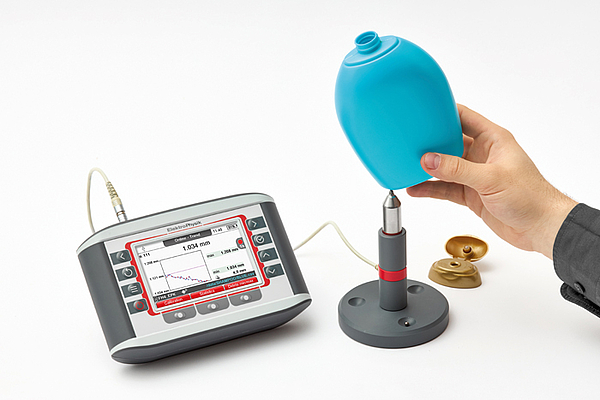
In the production of PET bottles, the wall thickness measurement of preforms and the following measurement of the bottle after the blowing process also provide important conclusions for optimizing the preforms. Continuous inspection of preforms helps the user to sort out defective items at an early stage so that they are not even transferred to the production process.
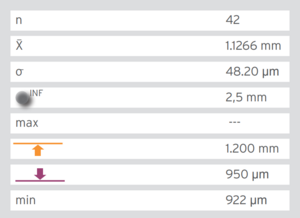
The MiniTest FH can be used to comply with international standards such as the ISO standard (e.g. ISO 11418: specifies the basic physical and mechanical properties of PET bottles) as well as industry guidelines that define precise minimum requirements for wall thicknesses. For example, MiniTest FH can lead to considerable material savings during quality control in the production of PET bottles by adjusting the wall thickness to the target specification. In addition, compliance with minimum wall thicknesses ensures that rejects and possible complaints are avoided.
The comPETence center provides your organisation with a dynamic, cost effective way to promote your products and services.

magazine
Find our premium articles, interviews, reports and more
in 3 issues in 2025.

